by Kailey LaValliere
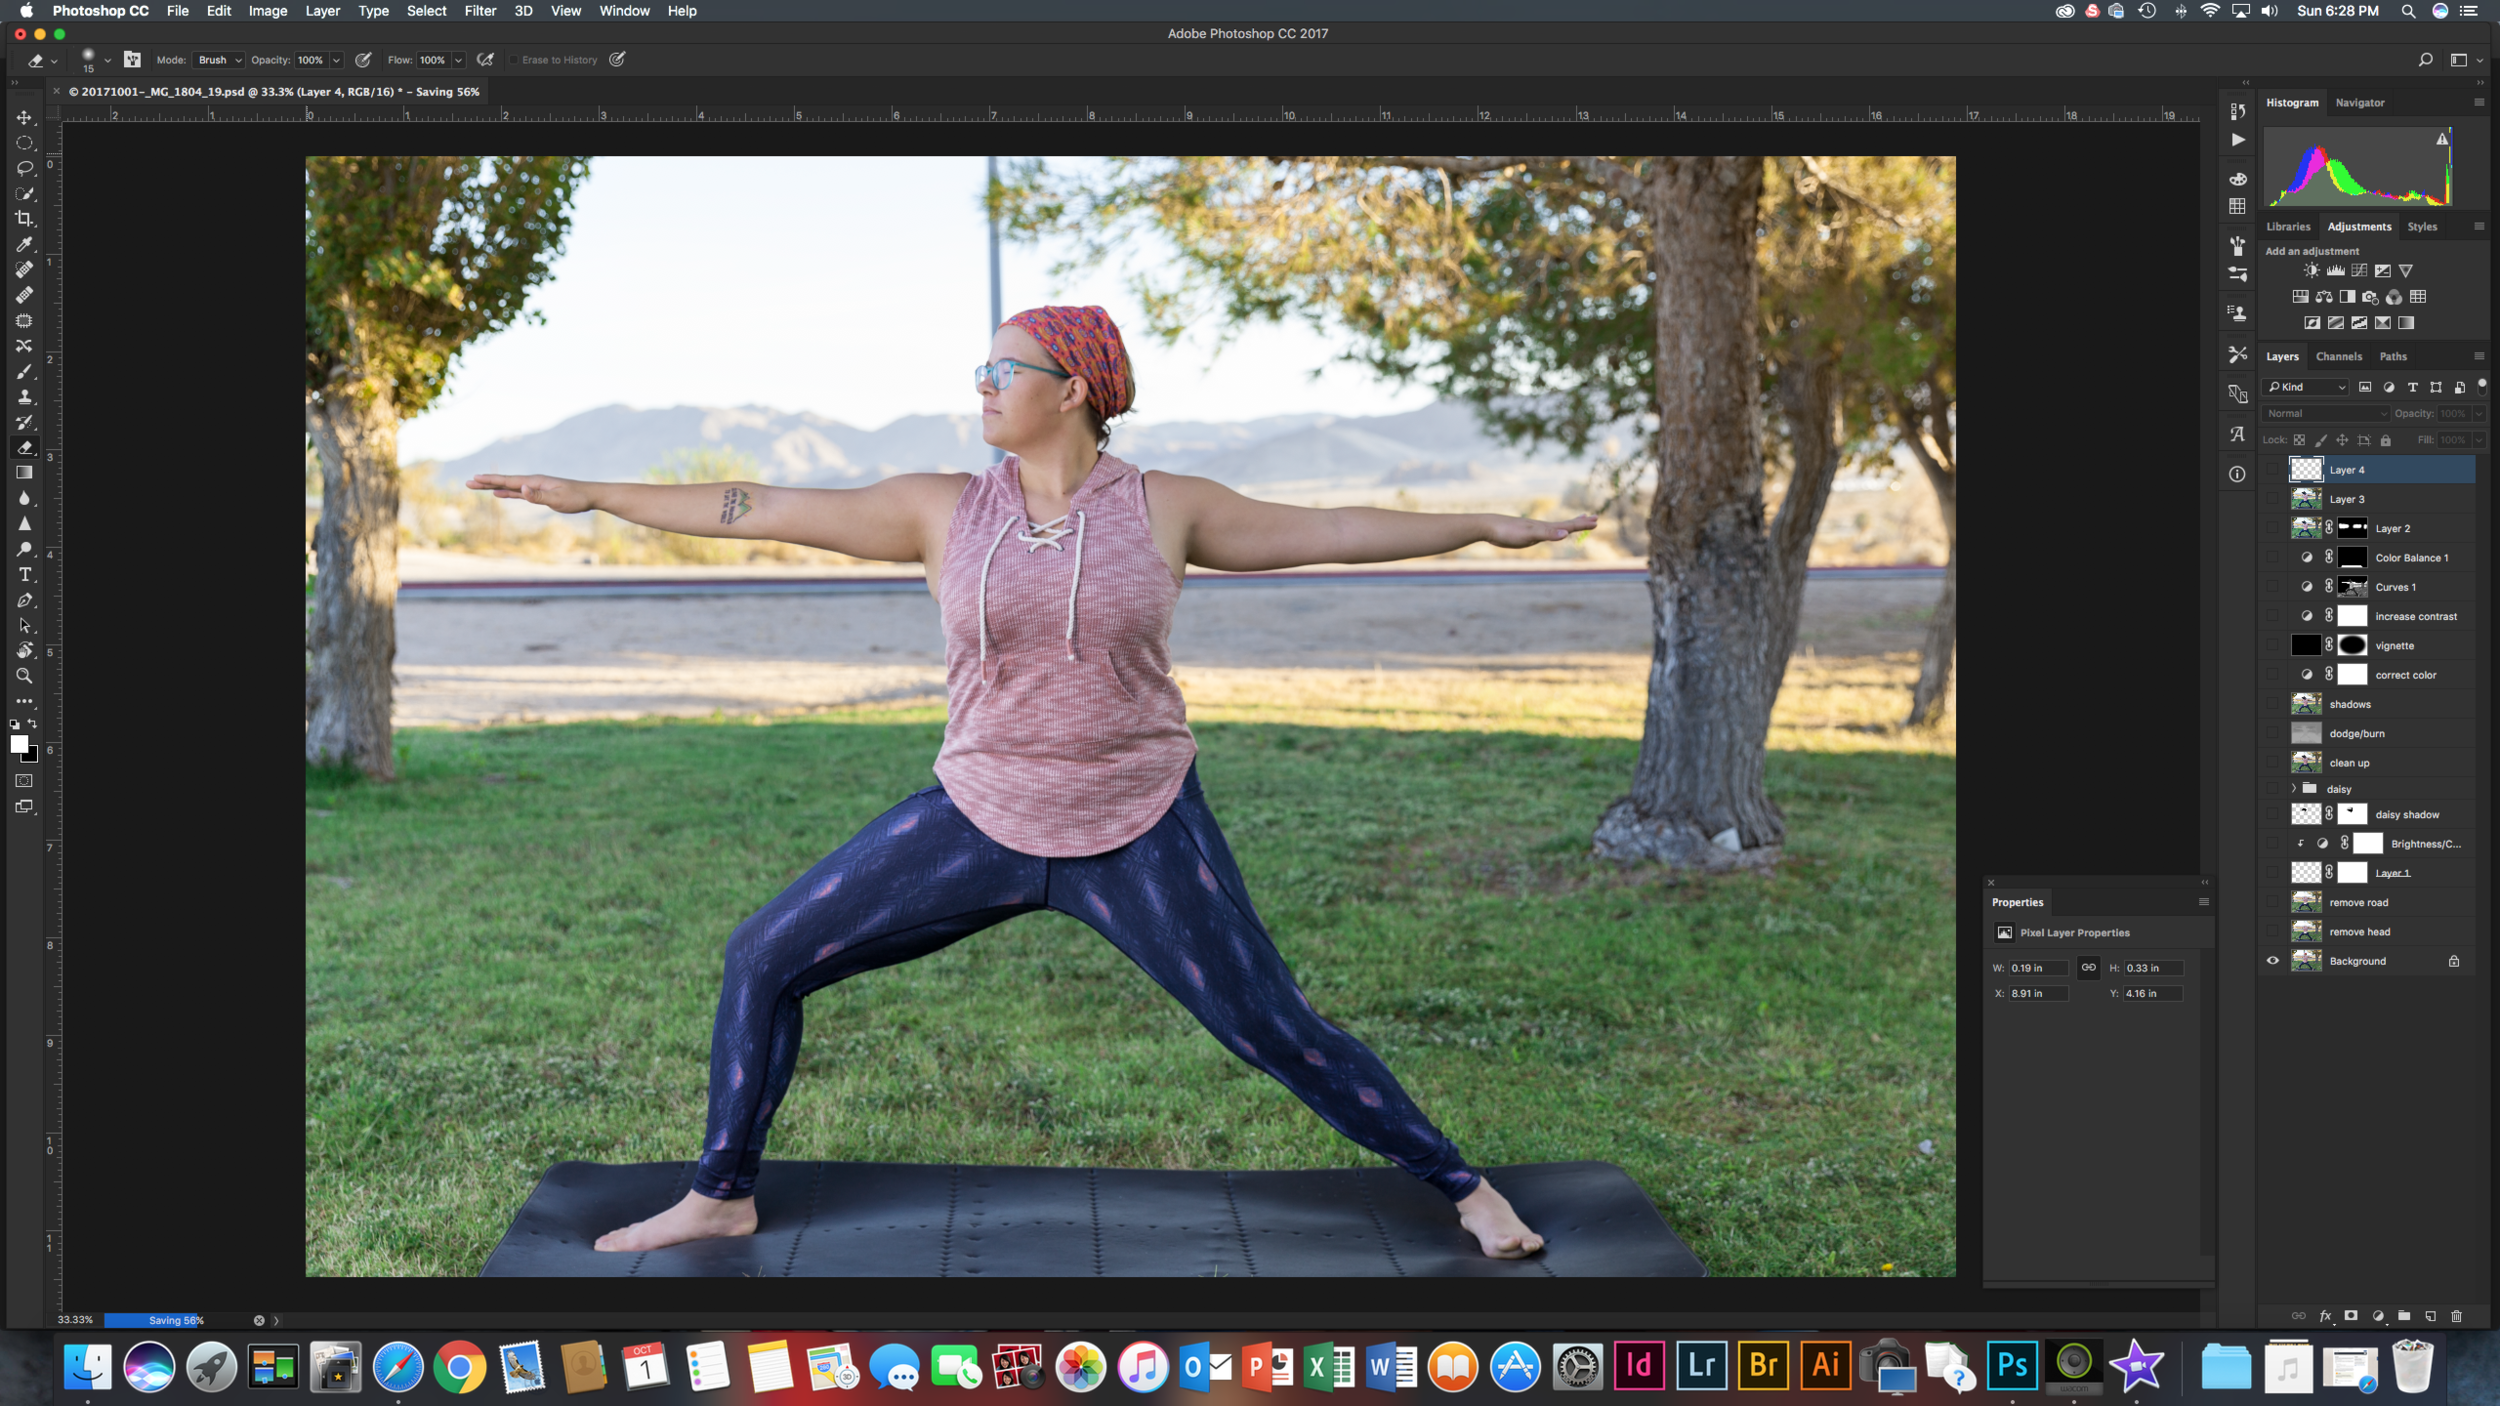
For this blog post, I have created a screen capture video of an image I created using Photoshop. I get asked quite a bit how I put photos together from my human dog series, so I thought I would give people a look at my process.
It begins with my preplanning process. After deciding on a concept for the photo, I begin planning out details from location, wardrobe, lighting etc. The idea is to create a persona that the dog takes on through the actions of the human. It is important to think of everything when it comes to planning. Missing something means reshooting to get it right.
For this particular photo, I wanted to portray Daisy, the dog, doing yoga. I chose to shoot just after sunrise in open shade. I used a moonlight on a light-stand with a medium soft-box attached that was lighting the subject positioned camera left 45 degrees.
I first start with photographing the human; in this case it was myself. Once I get the image of the human, I photograph the dog in the same exact spot using the same lighting. When photographing the dog, it is important to pay attention to pose because I want to be sure to make the image look realistic as possible. Some things I consider are the angle, the position of the dog’s neck and the position of the dog’s head. I also pay attention to the dog’s expression and to capture one that best matching the activity of the human.
Once I capture the images, I organize and perform basic darkroom techniques in Lightroom before importing to Photoshop.
The first step in Photoshop is removing the human’s head. I know, sounds gruesome but it is pretty painless. I usually use the patch tool to initially remove the head and fill the space with part of the background. I also use content-aware and the healing-brush tool to patch things up. My main concern is making the space that won’t be covered by the dog head look seamless. I don’t necessarily care about what will be covered by the dog head.
The second step in Photoshop is adding in the dog head. I drag the dog image on top of the human image and select a rough outline of the head and neck. I then use the “Refine edge” tool inside the “Select and mask” option to create an outline of the dog. The messier the hair, the more difficult it is to do this. Thankfully, this tool does a pretty good job most of the time.
Once I am satisfied with the selection, I load it with a layer mask so that I can continue editing it. I then start sizing the head to be proportionate to the body. This sometimes involves the “Puppet Warp” tool to adjust the head and neck. It is fairly easy to use; it just takes some playing around to get the idea of the tool.
Even though the “Refine Edge” tool did a good job selecting the hair on Daisy, I use a custom brush to further enhance her hair. I pay a lot of attention the neck area that meets the collar line of the shirt. I adjust settings within the brush such as “Scatter” and “Spacing,” to create a more realistic look.
Once I have the head and the human where I want it, I start to clean up the rest of the image. I don’t have the luxury of a full setup studio along with a crew and multiple lights; so I have to use my Photoshop skills to clean up the distracting elements. In this photo, there was a road in the background so I used the patch tool to remove it.
Once I remove distracting elements and the composited part of the image looks good, I perform color and lighting adjustments. I use layer masks whenever possible so that anything I do can be undone. I also try to name all layers because by the end, there are too many to keep track of.
Each image is different and you have to be willing to experiment and play around. As you see in the video, sometimes I try something and it doesn’t work out. The good thing about working with layers and masks is that I can delete what I have done if I don’t like it.


